
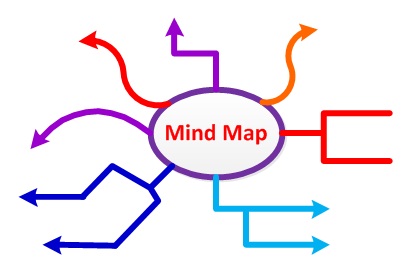
HOW TO MIND MAP
Gather supplies to create your Mind Map. This includes:
- Pencils and pens
- Crayons or markers
- The large sheet of non-lined paper
Take the blank piece of paper. A blank sheet of paper with no pre-drawn lines allows for freedom to express thoughts and ideas, whereas pre-drawn lines restrict the natural flow of thought.
Use the paper in landscape direction.
Start in the center of the paper with a clear and strong visual image or word that depicts the general theme and work outward. Starting in the center gives freedom to spread out in all directions and to express more freely and naturally.
Print in capital letters the main topic in the center of the page. Printing, versus cursive, allows the brain to photograph the image thus giving easier reading and better recall.
In addition to printing the topic, use an image or picture for your central idea. Make a central image that represents the topic about which you are writing /thinking. An image is worth a thousand words.
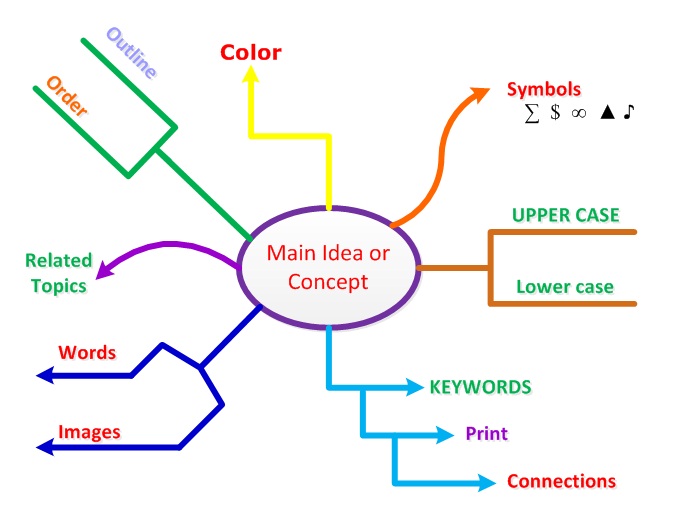
Use multiple colors throughout your mind map. This will help you to separate ideas. It also helps in the visualization of the Mind Map for recall. Colors stimulate the right cortical activity of imagination as well as capturing and holding attention. Anything that stands out on the page will stand out in your mind. Color adds extra vibrancy and brings life to your Mind Map. Use colors for visual stimulation, group topics, separate different ideas, associations and to make things stand out.
Create main themes around the central image / topic like the chapter headings of a book. Print these words in capitals and/or draw an image. The complete mind map will have lines radiating from main topic in all directions, with sub-topics and facts branching out from them, like branches and twigs off the trunk of tree.
Draw a line under these themes names using a line of the same length. Word length should equal line length. An extra line disconnects thoughts, length accentuates the connection.
Connect the main branches to the central image / topic. The brain works by association. It likes to link two (or three, or four) things together. Connecting branches helps understand and remember connections more easily.
Use curved and straight lines. Curved lines give visual rhythm and variety and so are easier to remember.
Draw a thick line that connects the themes directly to the central image because thicker central lines show relative importance
Add a second level of thought by creating sub-themes. These words or images are linked to the main branches.
- Put key words on lines
- Draw lines (curved or straight) that connect lines that connect are thinner. Connected lines create relationships and a structure.
- Words are still printed but in lower case. The size and style of the letters provide additional data about the importance and meaning of the word/image
Add additional levels of information by generating lower-level sub-topics as needed, connecting each of those to the corresponding subtopic.
Add dimensions to your Mind Map by drawing boxes around the word or image to add depth.
Consider enclosing branches of a Mind Map® with outlines in color.
Show connection between branches because information in one part of the Mind Map may relate to another part. Draw in lines to show the cross-linkages in order see how one part of the subject connects with another.
Once you understand how to assemble the basic structure of a mind map, you can develop your own coding and conventions to take things further and show connections between ideas.
Use the “tips” to enhance the effectiveness of your mind maps.

